
Bridge Progressions
Train your entire posterior chain, strengthen your spine, and reduce back pain!

#1 - Glute Bridges
A gentle exercise to introduce ourselves to bridging! Our back muscles are mostly working isometrically, so this gives most of the movement work to our glutes!
Standard: 3 Sets of 50
#2 - Straight Bridges
This brings the entire body into action! This exercise works the entire posterior chain.
However, because we are not bending backwards yet, the mobility and strength requirements are not as high.
Standard: 3 Sets of 30

#3 - Wall Bridges
This may be the easiest way to introduce the back bending required for bridges.
However, if we are unaccustomed to this, it can still feel like a leap from straight bridges.
If you feel that this is too difficult (or you feel pain from this exercise), you can level off your training at Straight Bridges and revisit this when you’re stronger!
Standard: 3 Sets of 30

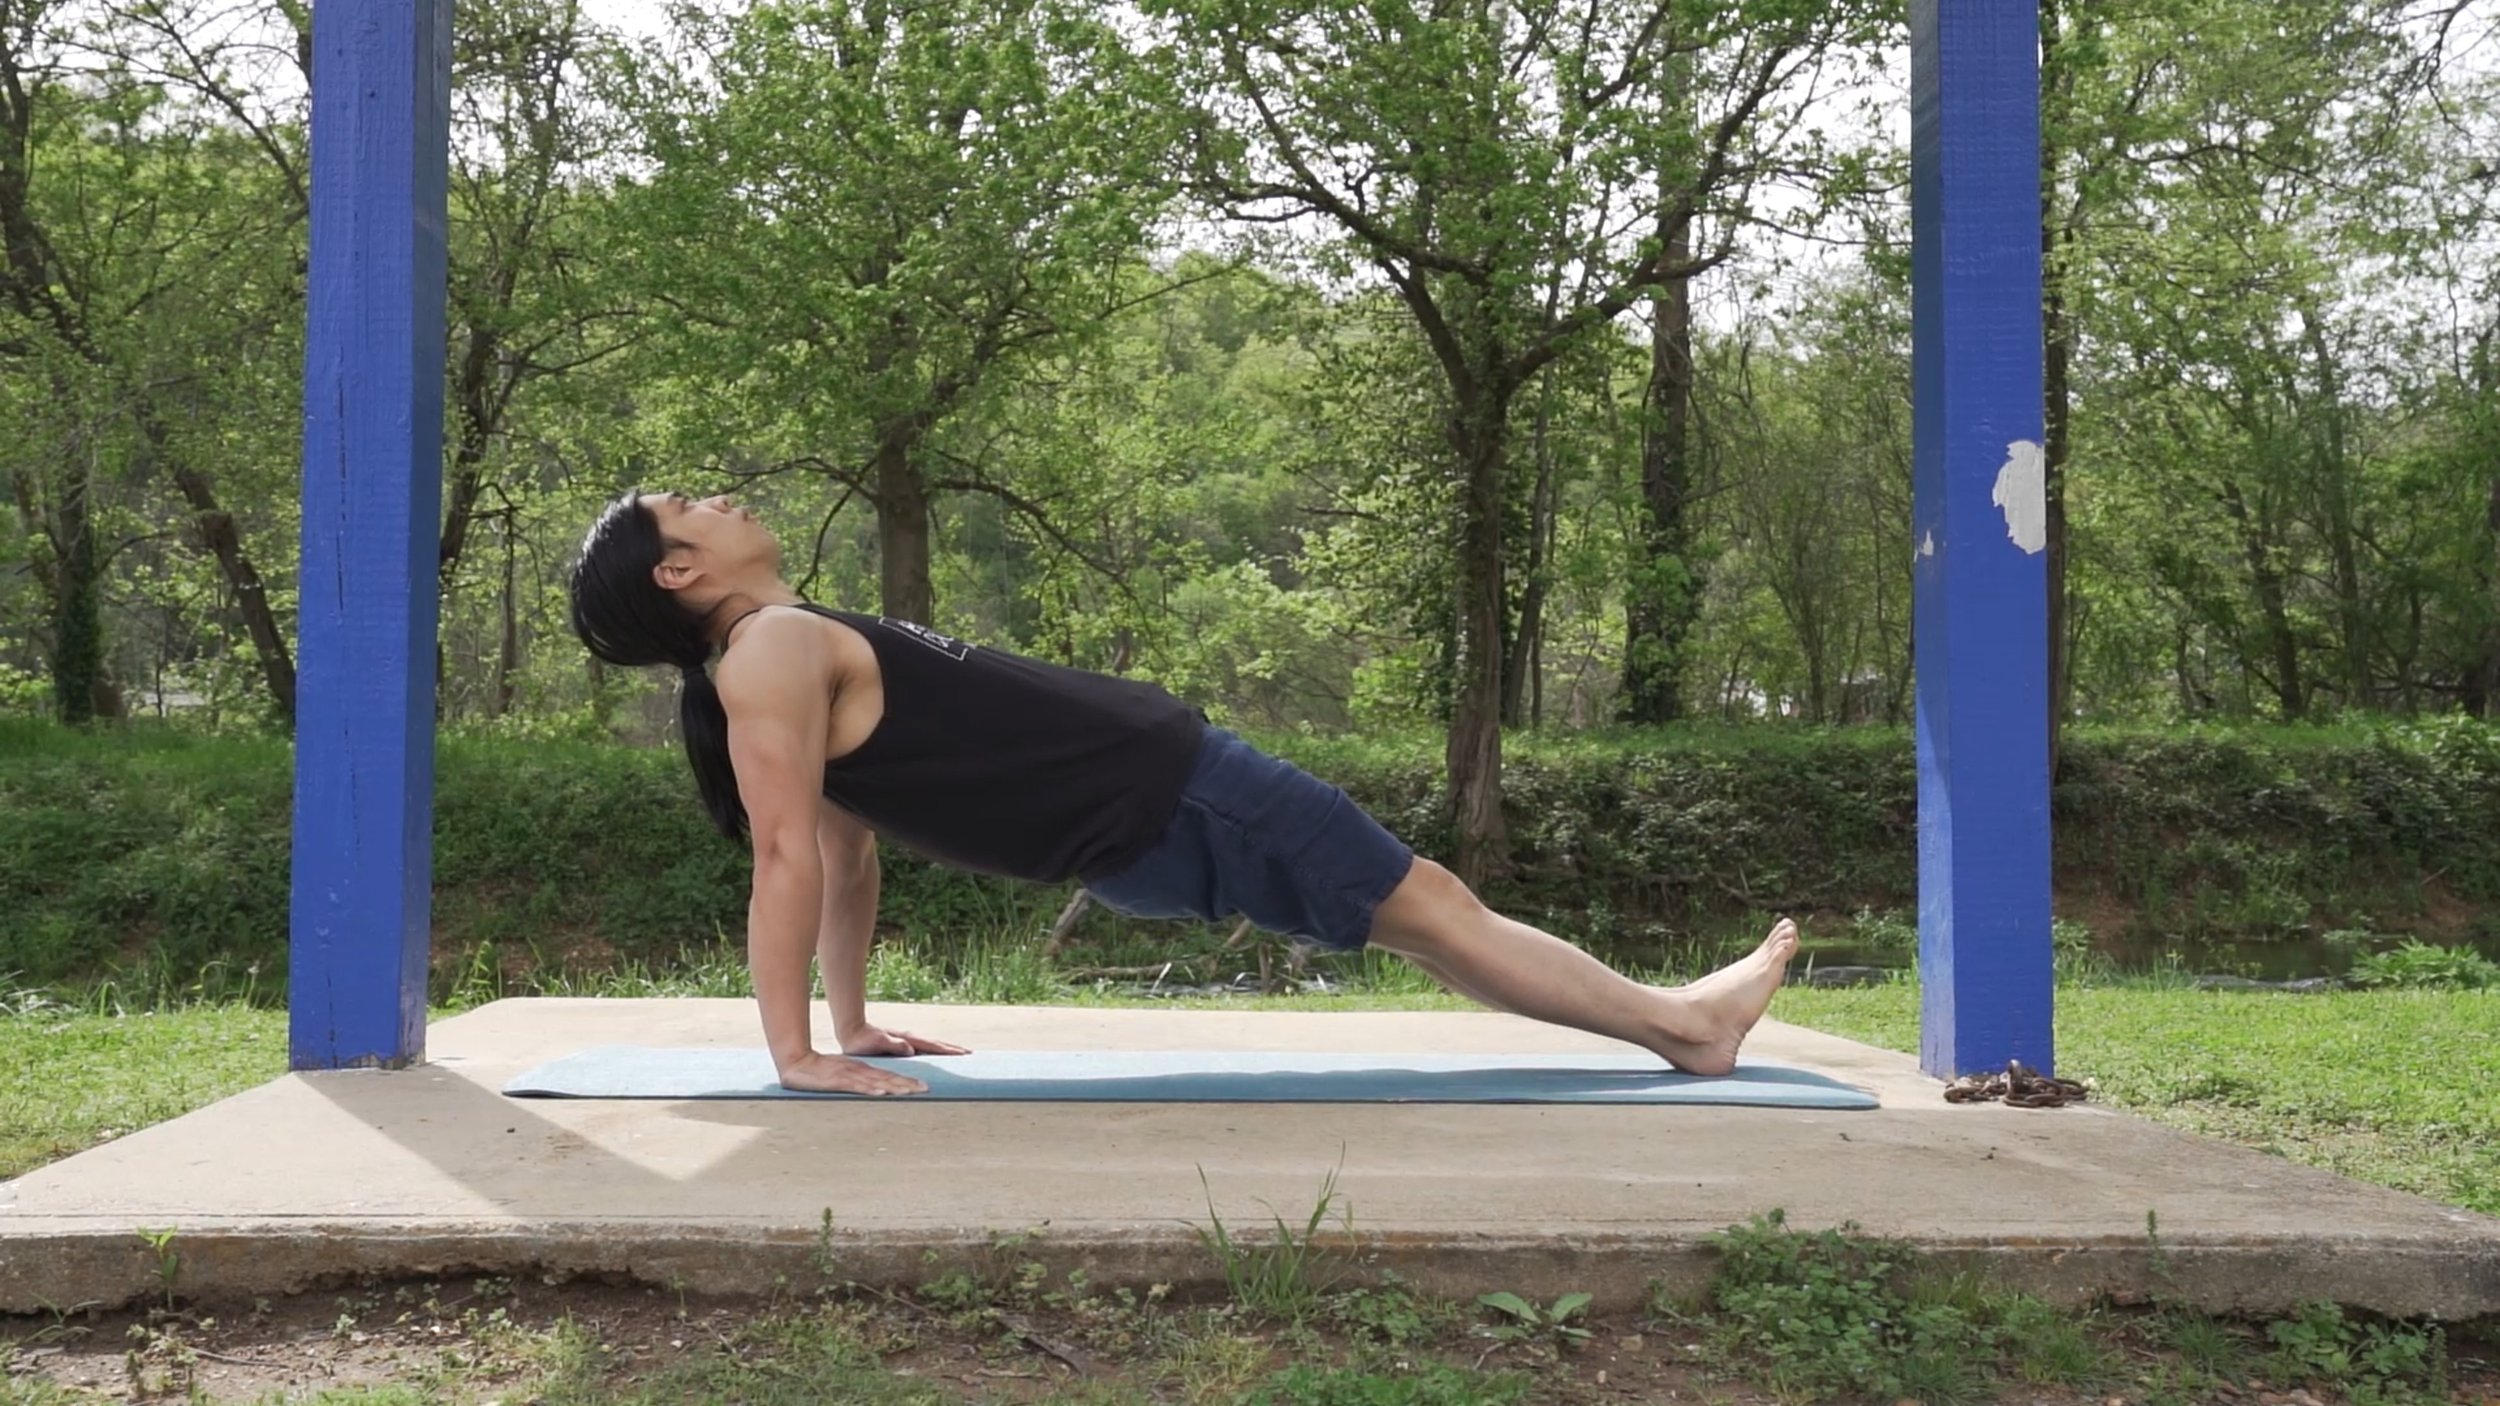
#4 - Incline Bridges
Lowering our upper body makes the bridge more difficult.
However, because of the angle, not much movement is possible.
Standard: 2 Sets of 25
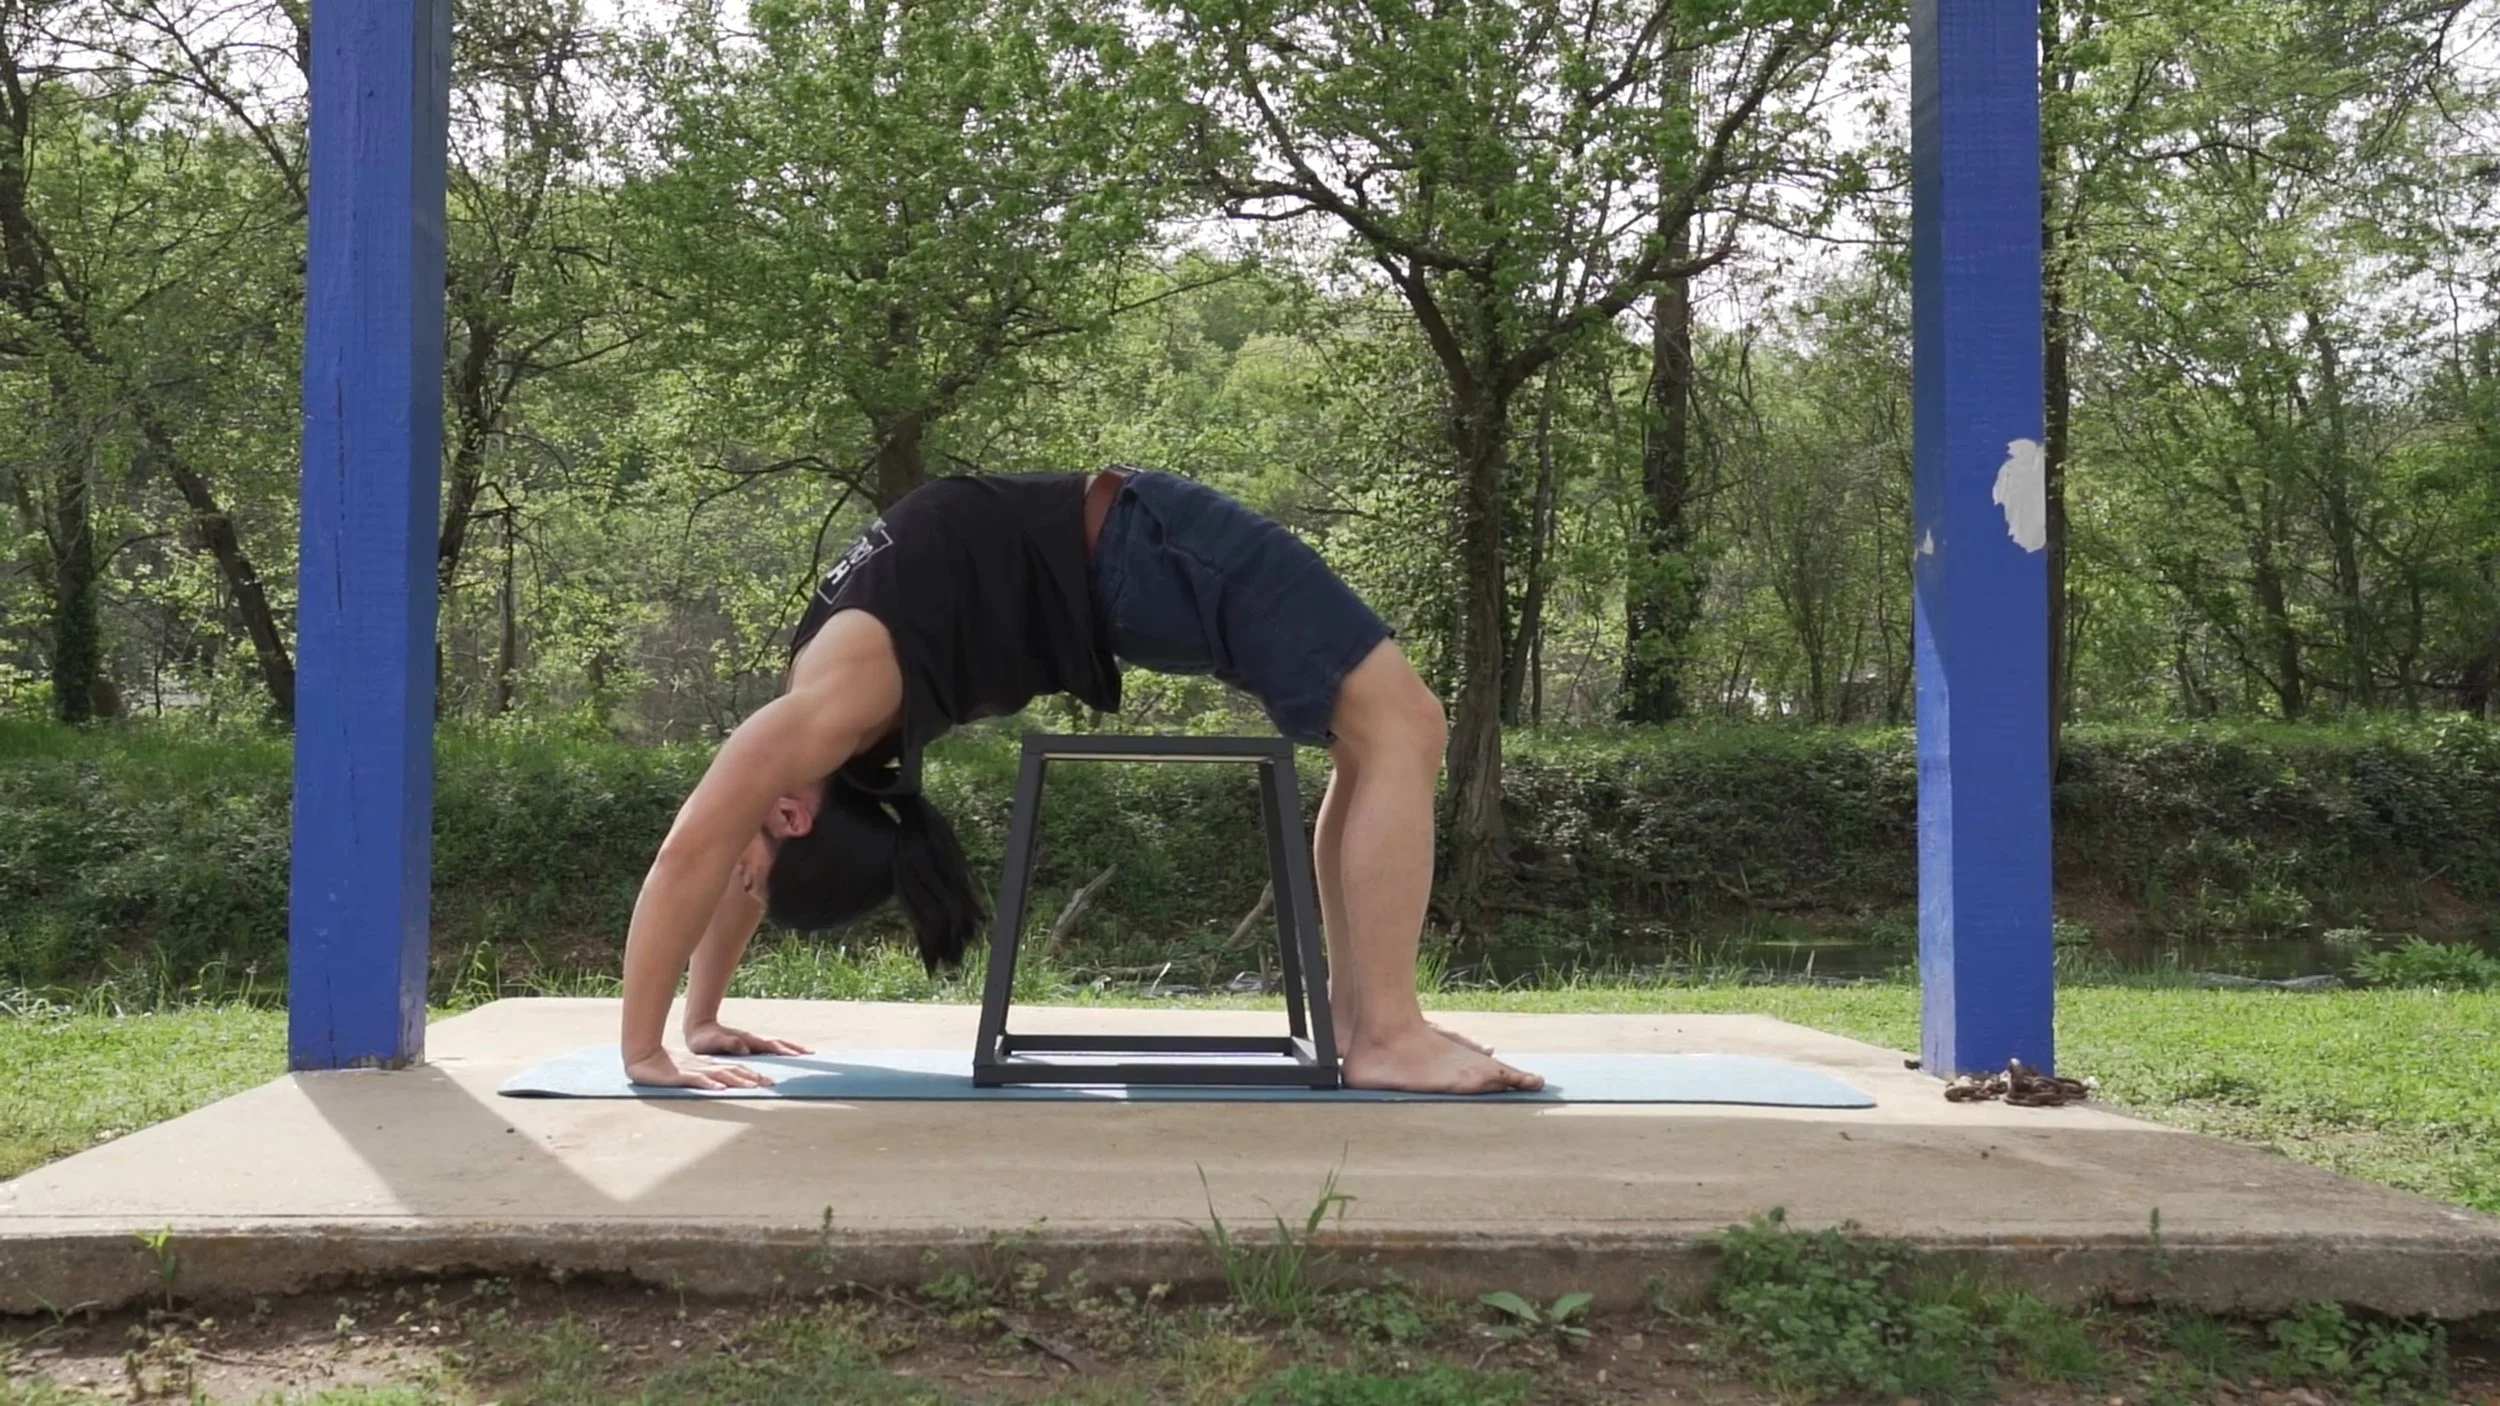
#5 - Head Bridges
How we get into position here is really more important than the motion itself.
By using a raised object to assist us into a bridge position, we’re able to explore this range of motion.
Use only safe, stable objects and avoid this exercise if it consistently causes back pain.
Standard: 2 Sets of 25

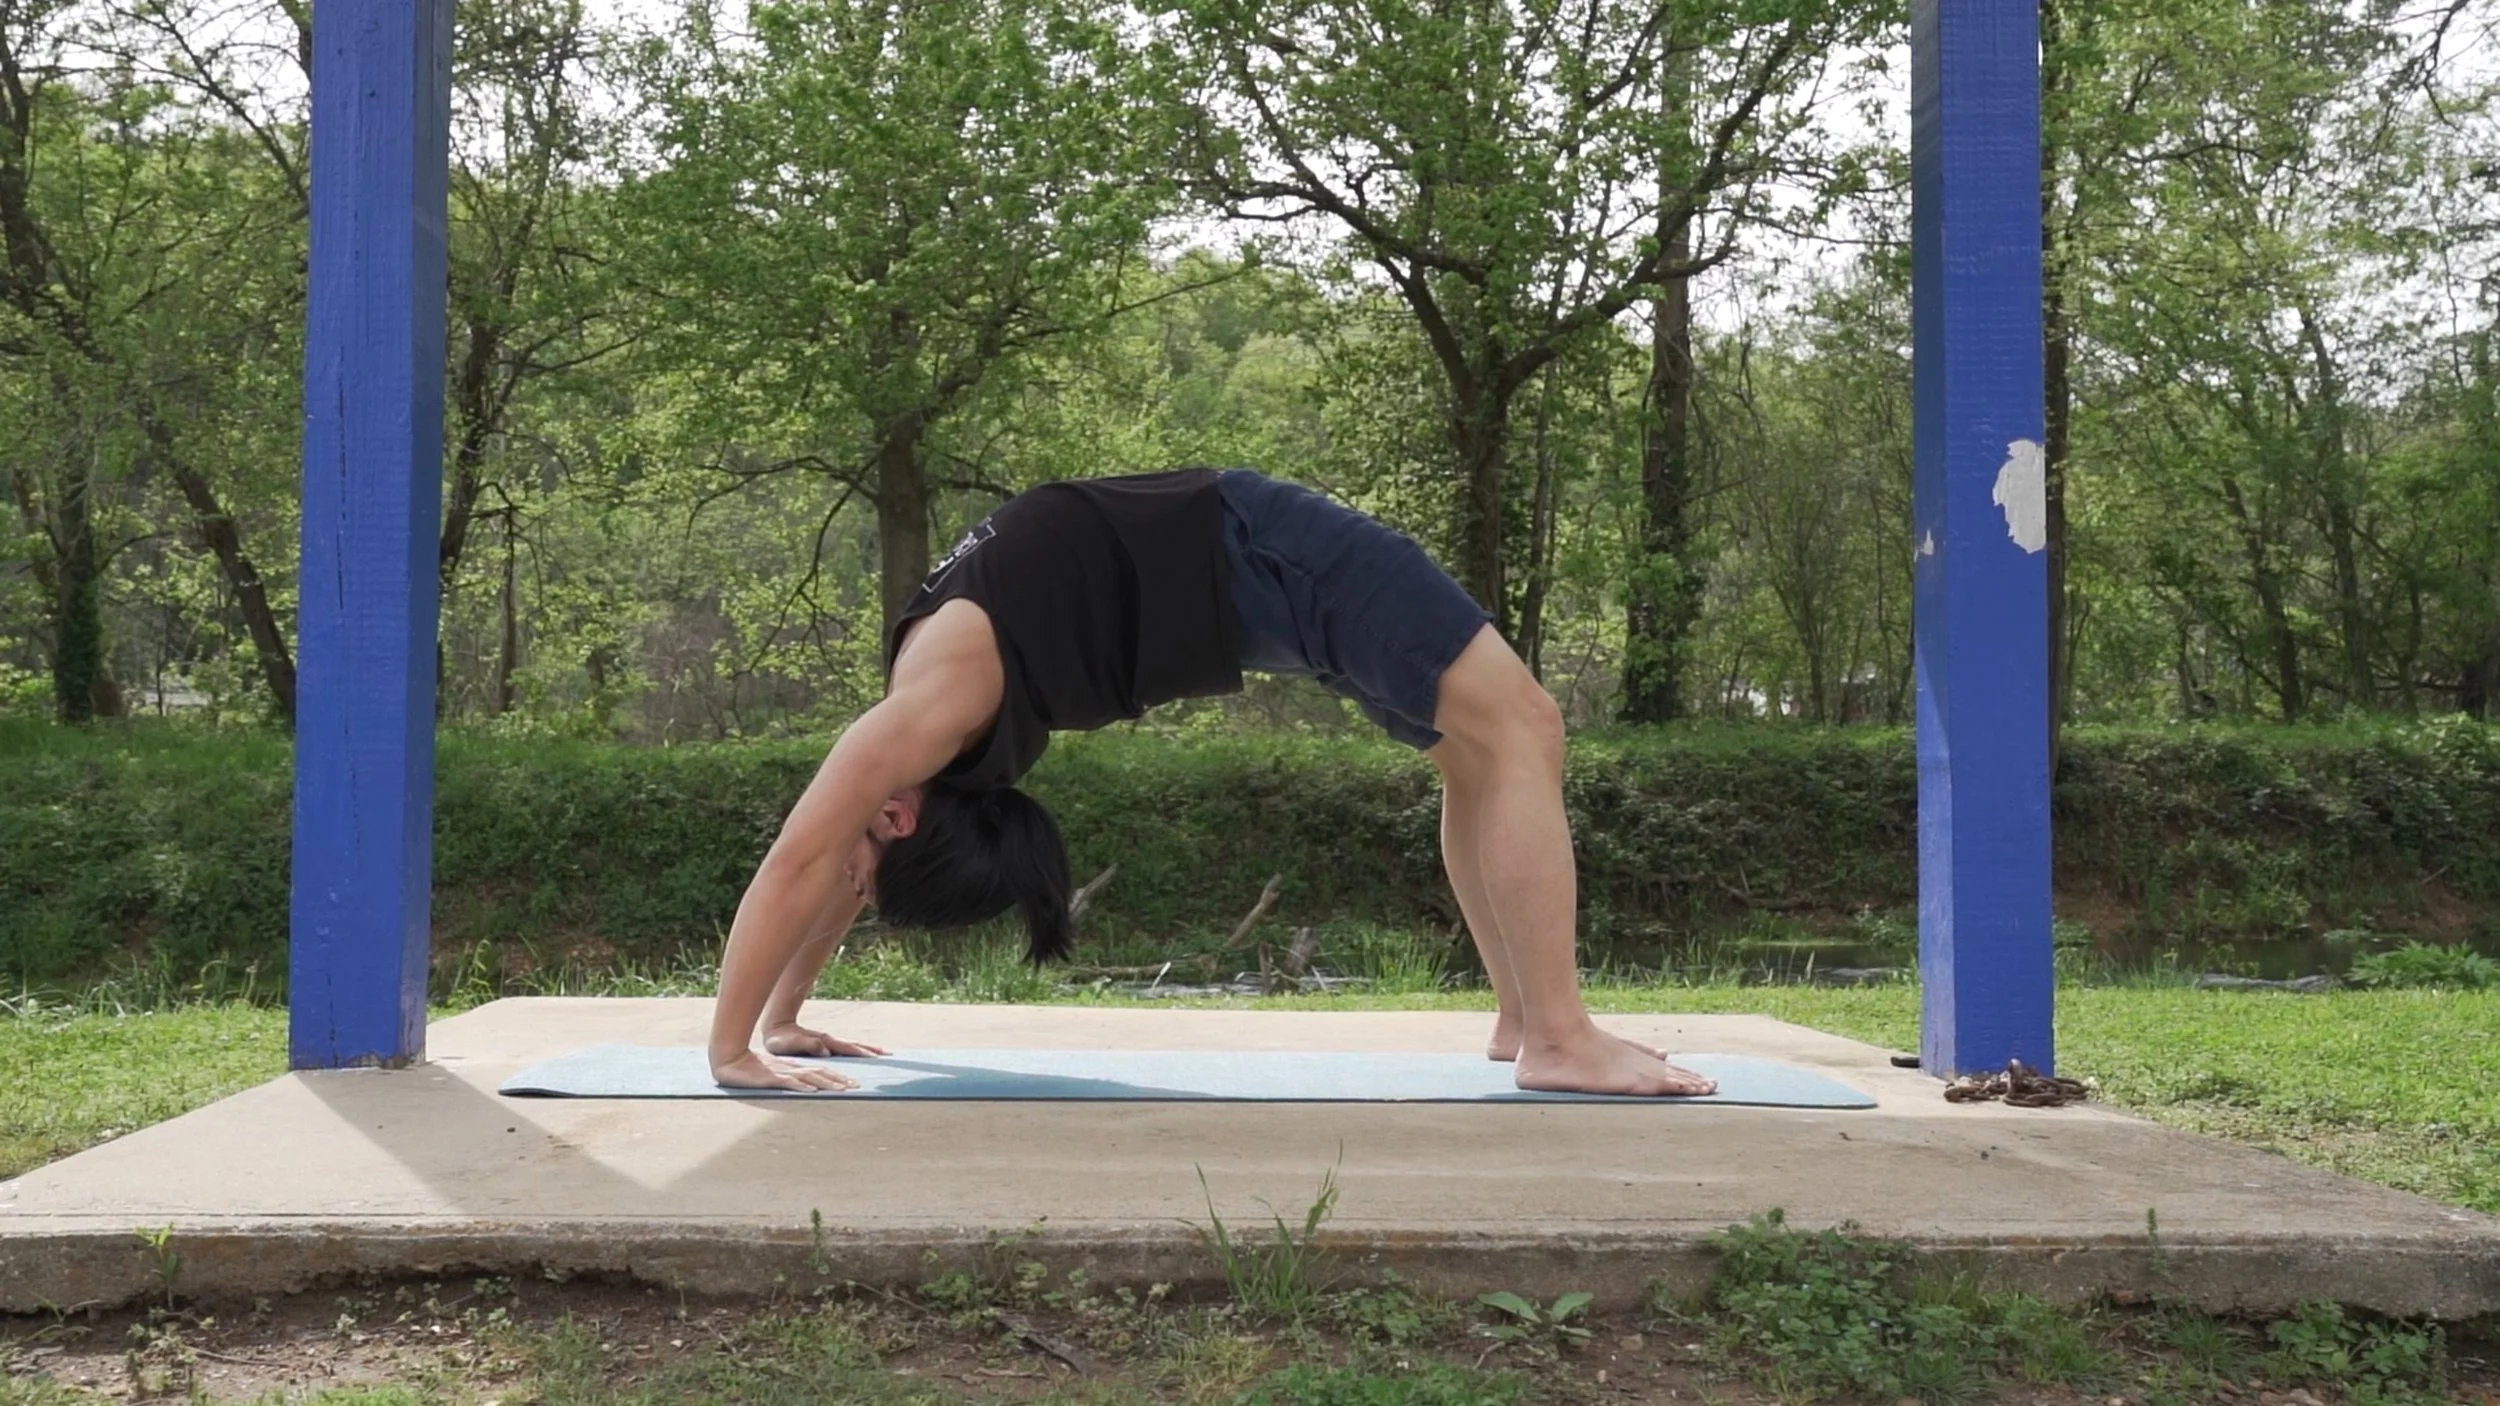
#6 - Full Bridges
This is the full bridge exercise often done by calisthenics athletes!
While there are more advanced versions, this is an excellent mobility standard to accomplish for most people. Congratulations!
Standard: 2 Sets of 15
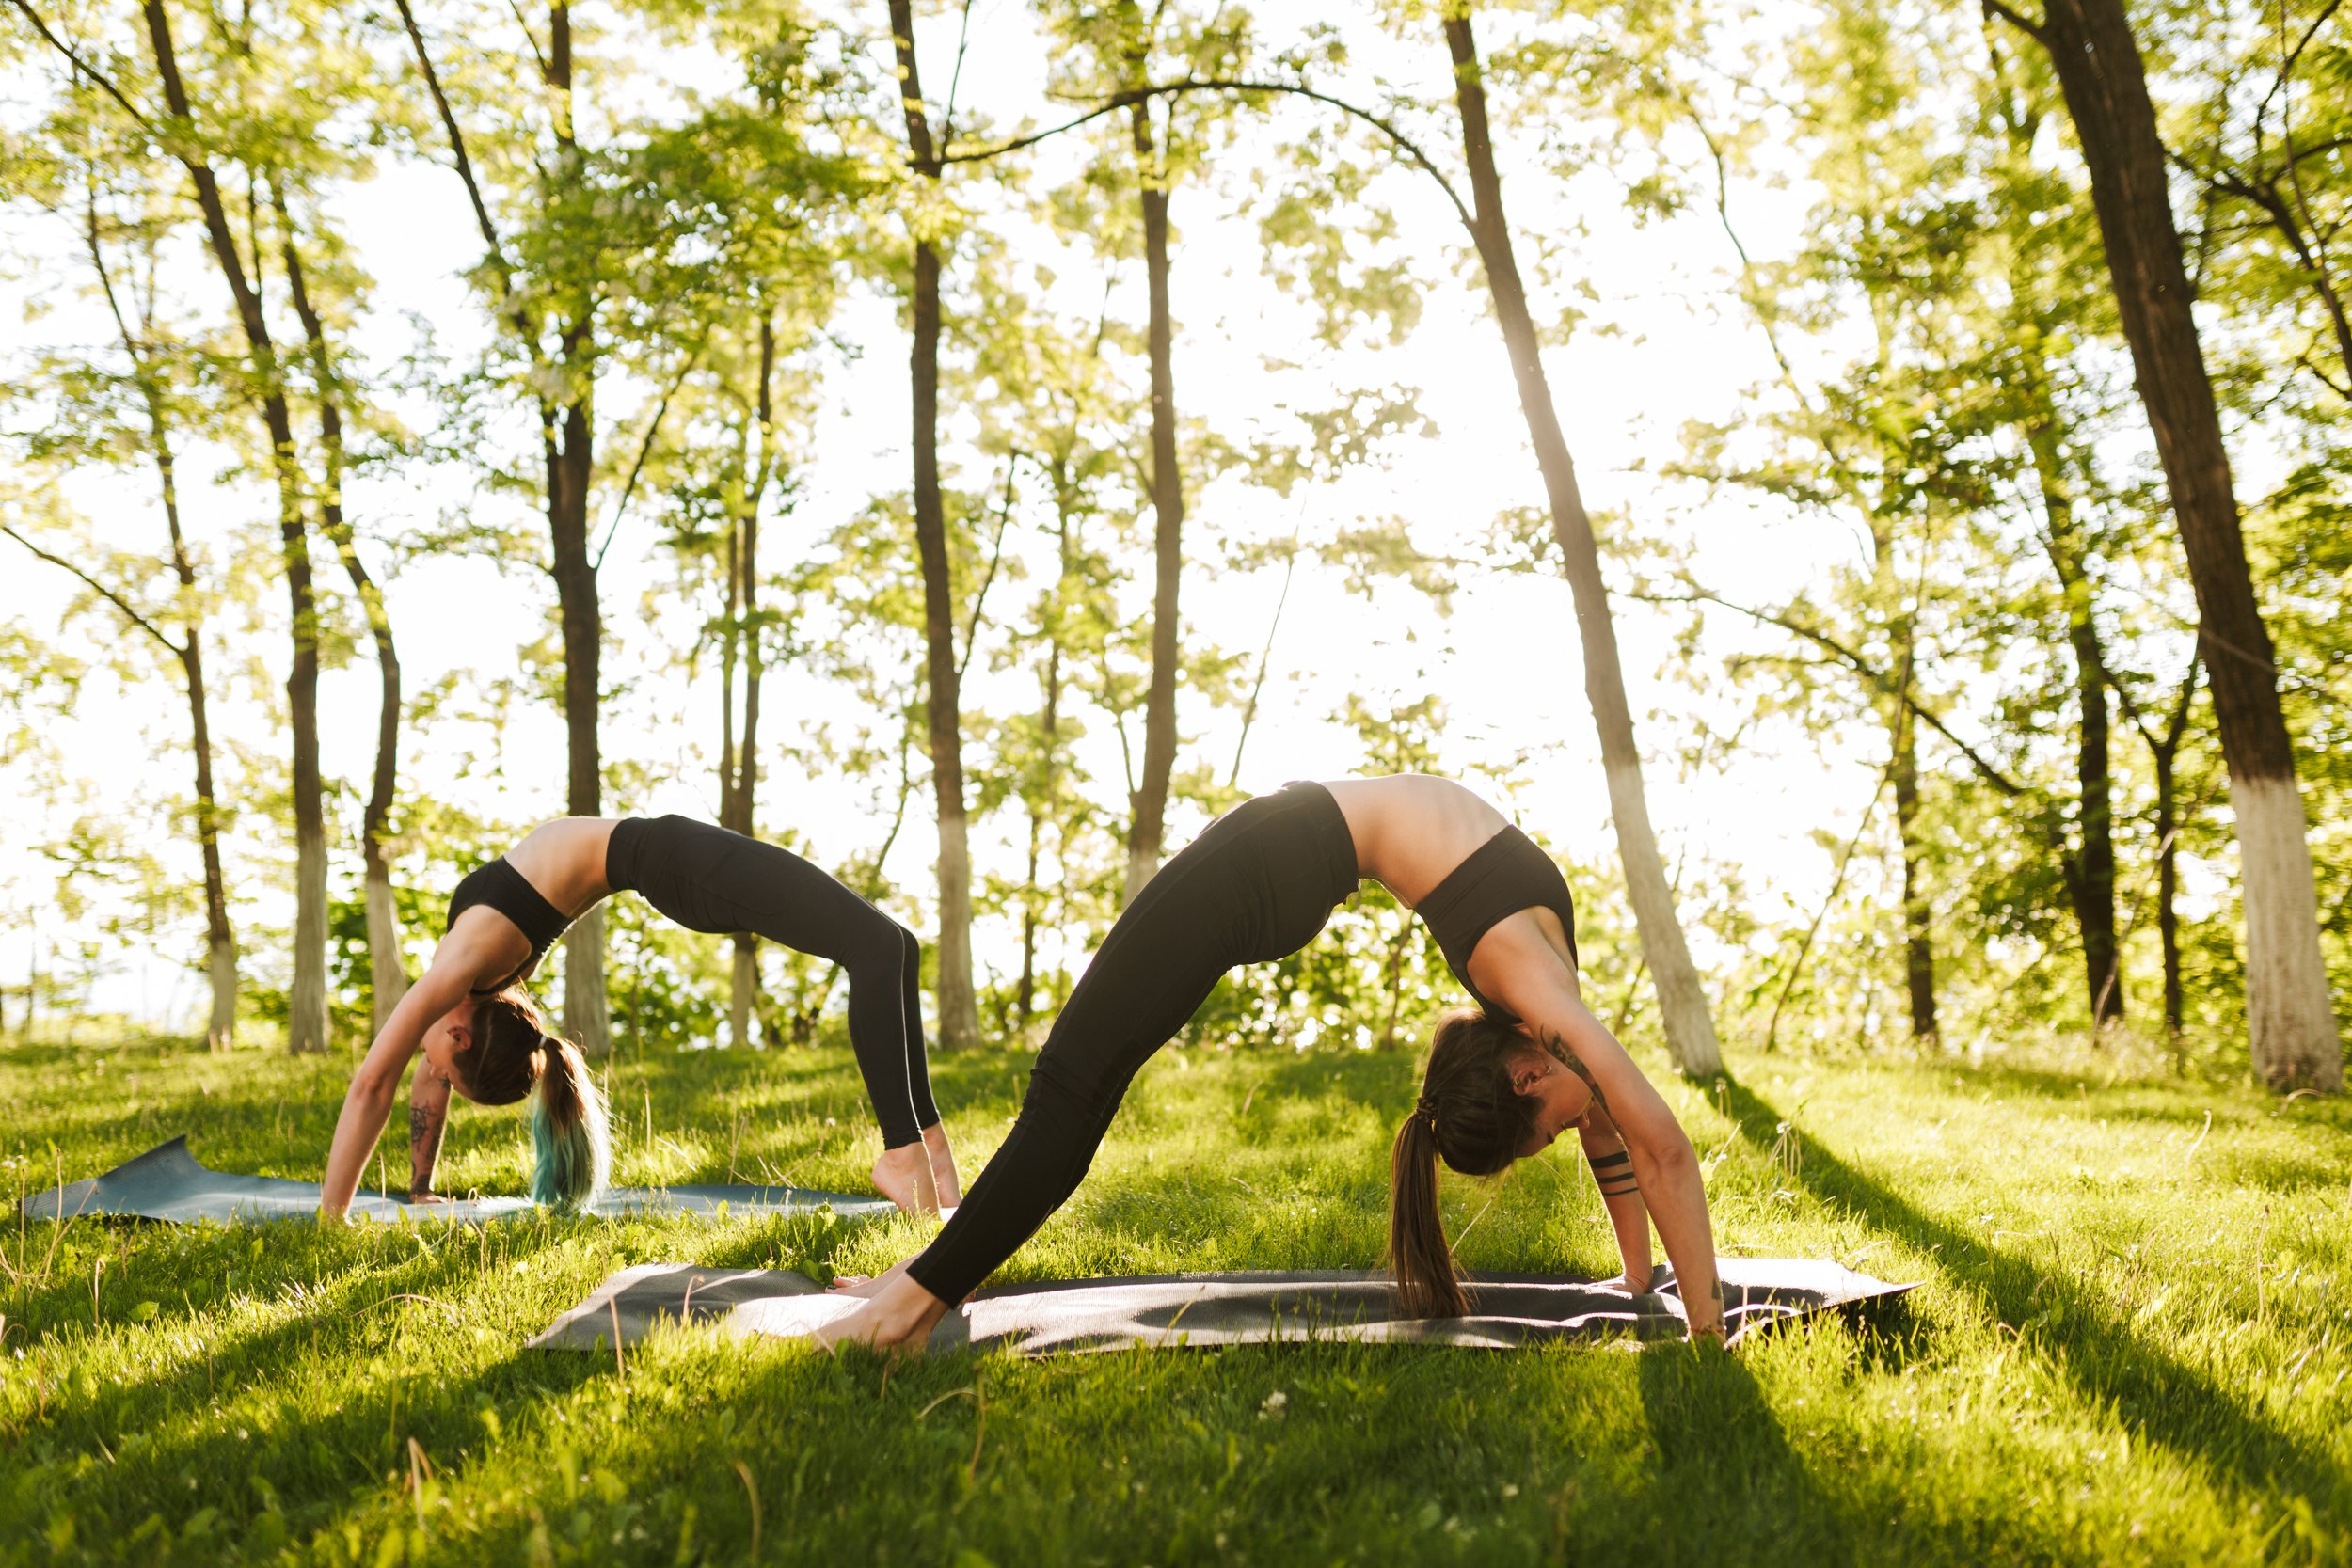
#7 - Wheel Bridges
Some may have noticed that some Full Bridges don’t quite look as aesthetically appealing as others. There’s a significant difference between doing a Bridge and doing it well.
This step refers to the months-long process of improving our bridge. Gradually straightening the limbs is a good place to start. Focus on forming an “upside down letter U”.
This is named after the Wheel Pose in yoga.
Standard: 2 Sets of 15

#8 - Tap Bridges
Theoretically, one could only use Wheel Bridges to improve their mobility until they are able to do Stand-to-Stand bridges. However, it may be helpful to learn to assist oneself into the position with a wall.
This step gently introduces one-arm bridging that will be helpful for the next step. You may have trouble balancing at first. Don’t fall on your head!
Follow this exercise with a few sets of Wheel Bridges to continue building your mobility.
Standard: 2 Sets of 30 Taps (Per Side, Alternating)

#9 - Wall Walking Bridges
Using a wall to assist us from a standing position to a bridge position makes the transition easier.
Always follow this step with several Wheel Bridges!
Standard: 2 Sets of 10

#10 - Stand to Stand Bridges
Leaning back into a perfect Bridge is an advanced mobility feat. While some are able to do this with “okay” form, strive to do this with excellent form! Congratulations if you manage to make it here. Your back should be mobile and strong.
Standard: 2 Sets of 5